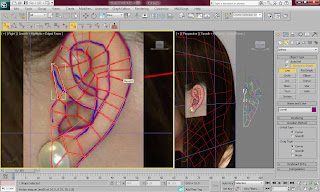
I drew red lines onto the ear as a template of where the polygons would need to go. This was quite easy as I had done it earlier during the project for my face. After several attempts I managed to get it looking alright to model.

I drew the lines in 3ds max around where I had drawn them on the template. I made the mistake of trying to draw the lines in perspective mode. This made the vertexes go in all different directions and it wasn't very accurate. I made sure I was in right view and draw over the lines to make squares. I then turned one of the squares into an editable poly and attached the rest of the lines to it. I then welded all the vertexes together. I found this part quite easy and I quite enjoyed doing it.
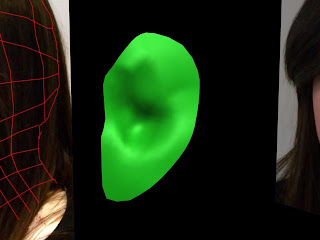
I then moved the front view and began making the flat poly into a 3d shape of my ear. This proved a lot harder than it looked because I did not have a template to work with and it would have been quite hard to take a picture of the front view of my ear without making it look distorted. So for this I guessed whilst looking in a mirror at my ear.
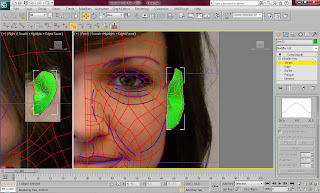
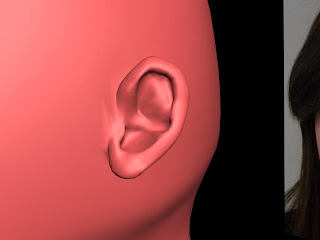
I then made the ear into a 3d shape by using the shift key to duplicate edges and polygons. Through out making the ear I had to make sure that it looked alright with turbosmooth on because this is how the final version will look.
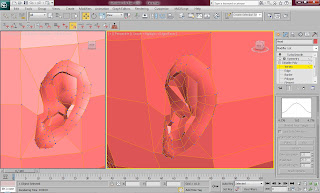
The ear was not very important as I knew my hair would be covering it and it wouldn't need to look perfect. However, I was very impressed with how it looked once I had completed the modifying. The picture below shows how the rendered image looks.
No comments:
Post a Comment