I located the nostrils and had to add a few polygons to make sure that it looked like the right shape but when I highlighted the nostrils I simply extruded them into there the nasal area would normally be. This process was very easy to do and I was also very surprised at how easy it was to make the exact shape of my nose. I thought I would have had to take ages re-shaping the nose to make it perfect.
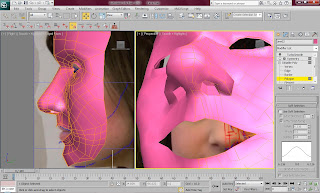
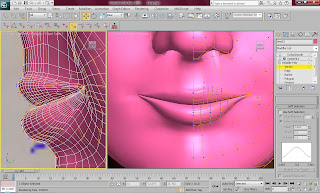
The lips took a little longer to make because of their shape. It was extremely easy because I knew exactly how I would go about making them and I was familiar with the shape. Each lip took a very long time because there was many polygons that needed to be added and modified onto the face. I made the top lip first by selecting the edges around the top of the empty part of the lip and I held down shift as I dragged it outwards. This created the first line of polygons and I carried on creating them with the first line. The bottom lip was created in the same way and joined to the top lip. I made sure there was a tiny gap between the lips because they are not welded in real life.
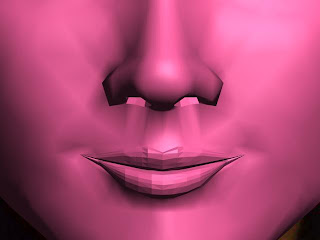
After creating these detailed featured I could really see the effect of the turbosmooth and how it was benefiting the model. The first picture below shows the model without turbosmooth and the second image shows the same model with turbosmooth.
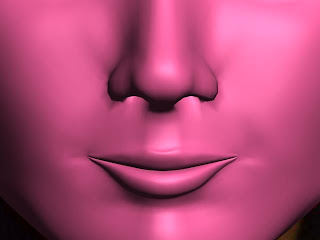
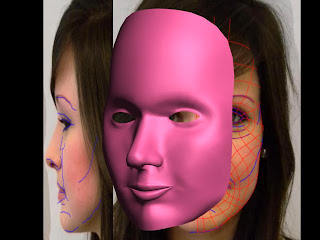
I rendered the image to see how to model would look with its detailed features. I am very impressed with it at this stage as it is starting to look a little bit like me.
No comments:
Post a Comment