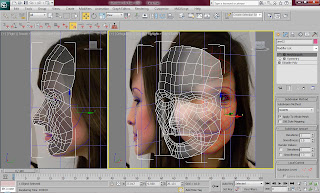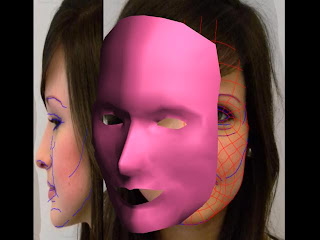
One problem that occurred when doing this was that the symmetry created a line down the middle of the face and almost made my face look like the middle of the face came to a point. This is shown in the picture below. This problem was easily fixed by making sure the vertexes in the middle of the face didn't come to a point and instead had a straight edge to them. I applied the modifier 'turbosmooth' which allowed me to see a smoother affect on the model. I set the turbosmooth iteration to 1 which is the lowest setting and making the the face is not too smooth so that the details of the face can't be seen.

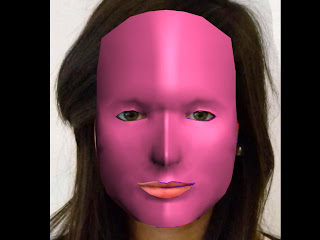
The picture below shows the rendered image of the front of my face with the symmetry. At this point I am very impressed with what 3Ds Max has allowed me to create. From a few quick steps I was able to make a replica of my face. At this point I do not think that the face looks very much like the shape of my face because my cheeks are much larger than this and the face shape could do with some tweaking.

No comments:
Post a Comment