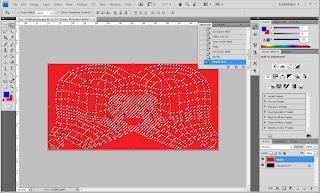
I used the warp and distort tool many times to make sure that the details of the face were put in place properly. I also used the stamp tool and smudge tool to make sure that each part of the face blended and looked right.
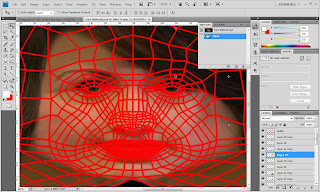
This is how the end result looked after a long time of cutting pasting and warping. It did not come out right first time or the second time... or several times after that. But after much practice I eventually got the hang of it.
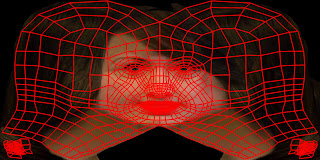
This is the final material picture that will be used on my model. I had to make sure that the face blended well. The hardest part was the eyes because they would not get in place no matter how many times I made them small and stretched them and warped them.
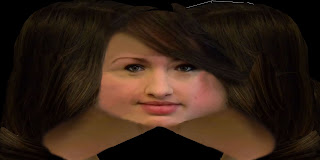
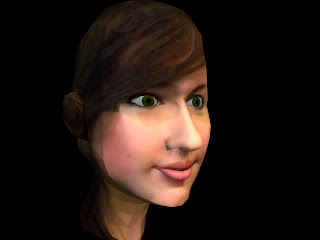
This is what the material looked like after it was applied to the model. It need lots of tweaking at this point because it does not look very much like my head. But I am very impressed with what I've been able to achieve so far.
No comments:
Post a Comment